Mastering Studio Lighting
A comprehensive guide
Studio lighting is a cornerstone of professional photography, allowing photographers to control and manipulate light to create stunning images. Whether you’re a seasoned pro or just starting out, understanding the fundamentals of studio lighting is essential. In this guide, we’ll cover everything you need to know to take your studio photography to the next level.
1. Lighting Settings: ISO, Shutter Speed, and Aperture
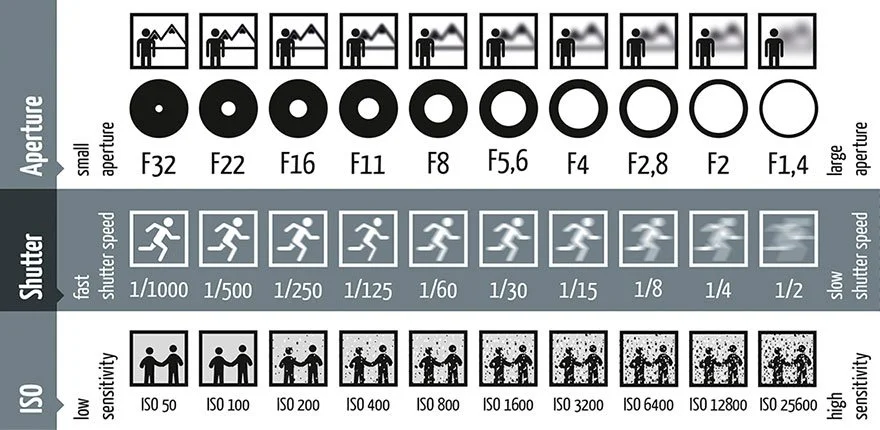
Before diving into the intricacies of studio lighting setups, it’s crucial to have a solid grasp of the basic camera settings: ISO, shutter speed, and aperture.
• ISO: This setting determines your camera’s sensitivity to light. A lower ISO (e.g., ISO 100) is ideal for studio photography to minimize noise and maintain image quality.
• Shutter Speed: Shutter speed controls the duration of light exposure. In studio settings, a slower shutter speed can be used to capture more ambient light, while a faster shutter speed freezes motion.
• Aperture: Aperture regulates the amount of light entering the camera lens. In studio photography, a wide aperture (e.g., f/2.8) creates a shallow depth of field, perfect for isolating subjects from the background.
2. Light Modifiers
Light modifiers play a crucial role in shaping and controlling the quality of light in your studio. Common modifiers include softboxes, umbrellas, reflectors, and grids.
• Soft boxes: Softboxes produce soft, diffused light, ideal for creating flattering portraits with gentle transitions between highlights and shadows.
• Umbrellas: Umbrellas are versatile modifiers that can be used to bounce or diffuse light, providing a softer, more even illumination.
• Reflectors: Reflectors bounce light back onto the subject, filling in shadows and adding highlights for a more balanced exposure.
• Grids: Grids narrow the beam of light, creating more directional and focused illumination, perfect for highlighting specific areas of your subject.
3. Angle of Lighting
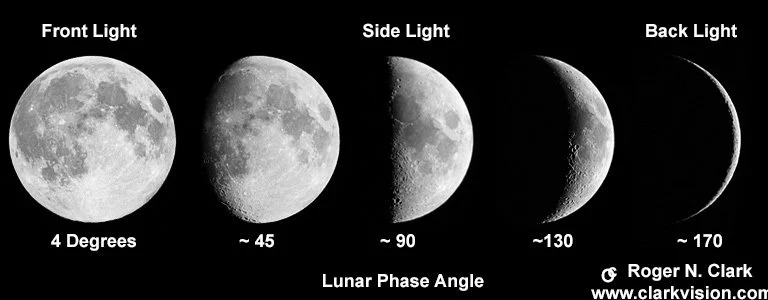
The angle of lighting significantly impacts the mood and texture of your images. Experimenting with different lighting angles can help you achieve various effects and highlights.
• Front Lighting: Front lighting illuminates the subject evenly, minimizing shadows and emphasizing facial features. It’s a classic approach for portrait photography.
• Side Lighting: Side lighting creates depth and dimension by casting shadows across the subject’s face or body. It’s perfect for adding drama and sculpting contours.
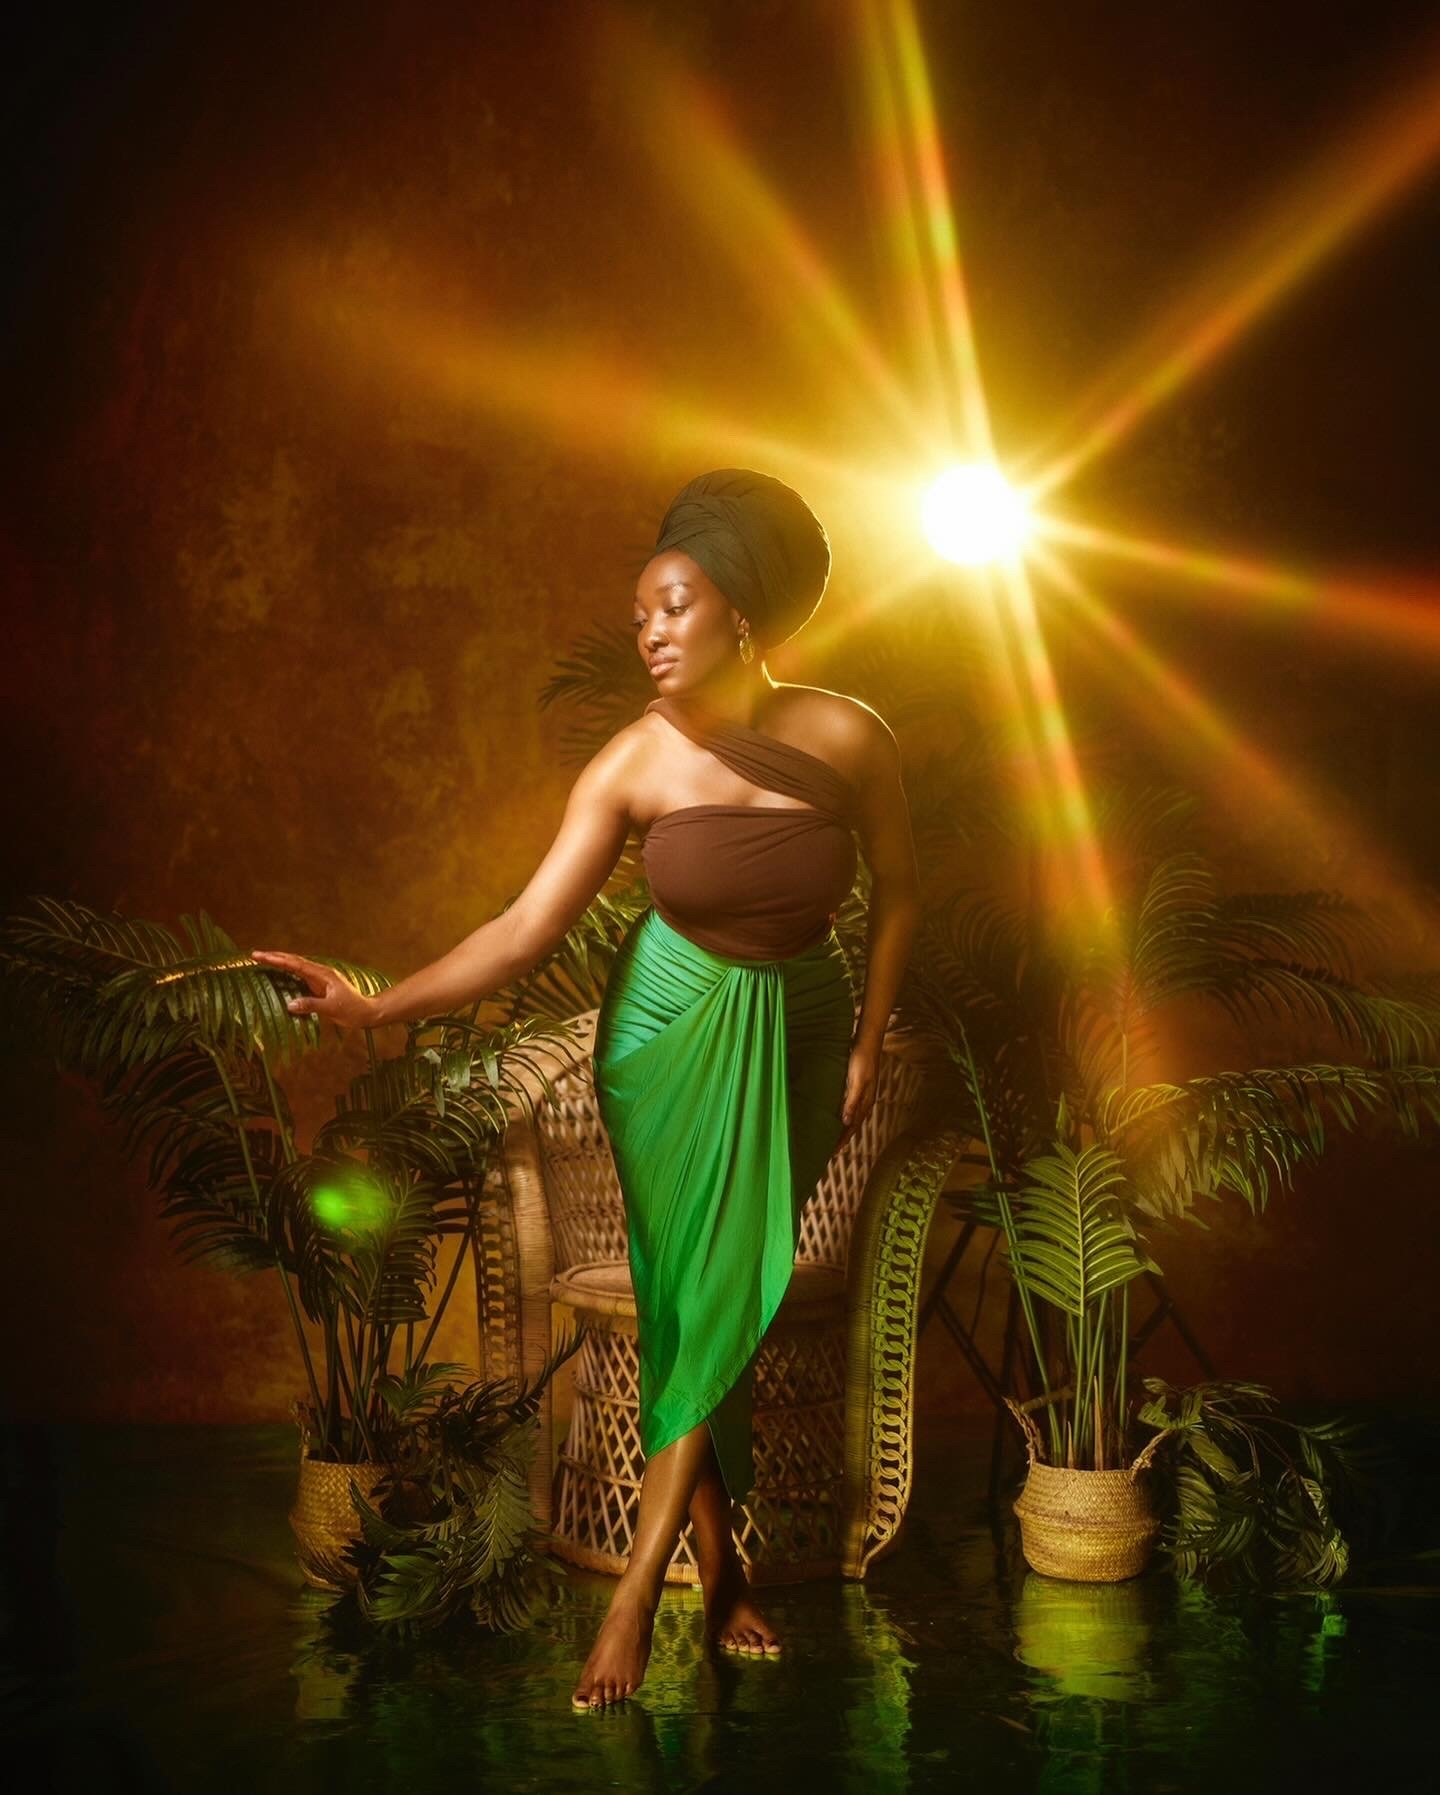
• Back Lighting: Backlighting places the light source behind the subject, creating a rim of light around the edges and separating the subject from the background. It adds depth and highlights textures.
4. Compositions
In addition to mastering light, understanding composition is essential for creating visually compelling images in the studio. Here are a few composition techniques to consider:
• Leading Lines: Use lines within your composition to draw the viewer’s eye toward the main subject or focal point, creating a sense of depth and movement.
• Negative Space: Incorporate empty or negative space around your subject to emphasize their presence and create a sense of balance within the frame.
• Symmetry: Explore symmetrical compositions by placing your subject or key elements along the central axis of the frame, creating a sense of harmony and balance.
By mastering these fundamental principles of studio lighting, you’ll have the tools and knowledge to create captivating images that showcase your creativity and expertise. Remember to experiment, practice, and refine your techniques to develop your unique style as a photographer.


